Adding a custom URL
You can set up a customer URL for your portal in three easy steps:
1. Log into your domain registrar account and in the section where you manage the DNS records create a subdomain (e.g. portal.xxxxx.com). It may also be called creating an “A” record.
2. When creating the subdomain, use 23.249.127.162 as the IP address and save your changes.
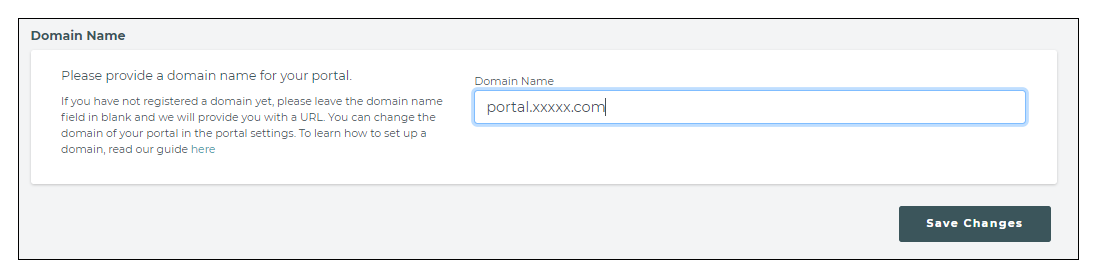
3. Log in to your portal as administrator, select "Portal Settings" and then "Features and Function" and add the domain you have created in the "Domain Name" field. Hit the "Save Changes" button to complete.
You can set up an entirely different URL for your portal but using a sub-domain will add confidence to your customers that they are still on your domain.
It may take up to 72 hours for the URL change to propagate through the system.
Adding a SSL certificate
Once you have set up your custom URL for your customer portal and this has propagated through the system, submit a support request to support@north49.com asking for an SSL to be activated on your portal. We will require your company name and the portal URL.
The cost of the SSL is included in your subscription.